A few months back, my sister, Kristi, called. She said that she had been thinking about making Addy, my 2-year old niece, a play kitchen. I laughed. She wasn't thinking about making the kitchen, she was thinking that Z and I could make a kitchen. I gladly accepted the challenge - which meant by default that Z also accepted the challenge. We scoured the web for pictures of play kitchens we liked.
There are so many creative parents and companies who make the cutest kids kitchens - so we knew our competition was stiff!
We liked this retro kitchen from Pottery Barn.


So we - and by we, I mean it in the same way as Kristi meant 'she' - Zach began working on the kitchen. Here are some of our progress pictures.

This is clearly the sink - with an under mount stainless steel sink (originally a bar sink). We also used Corian counter tops as Z's super cool boss had some left over.


And clearly a work in progress, the oven!

We followed the instructions provided by Lowe's when it came to the size of the appliances - however, we made the refrigerator about 4 inches taller.
As Z continued with the construction, I started playing with the 'details'. We chose to go with a sage green exterior - and used Benjamin Moore's Kittery Point Green (HC-119). I had it color matched at Home Depot.


The color on the card in the picture directly above seems a little more bold - I'd say, the color is much more like the color on the can. (But really, do you see how good my nails look? - they never look that good!)
For the interior of the oven, I wanted to spray it silver. We used Rustoleum's Satin Nickel Metallic paint and primer in one.

We thrifted almost all of the details other than the paint. For the burners for the stove, we went to a junk yard and found four 4-inch burners. I cleaned them and spray painted them black.

For the handles of the sink, I found vintage knobs at the Habitat for Humanity Restore.

Time out: Do you see that faucet above? We were having the hardest time color matching the bottom of the handles to a faucet. Apparently, those handles don't just look vintage - they are vintage!
One evening, I came home from the grocery store to find Zach being pretty mischievous!

He was removing our faucet from the bathroom sink to use for Addy's kitchen! Apparently the color was as close a match as he could find. Good thing she's so cute!
It came time to paint and I embraced my role!

We used Plexiglas for the window cut out of the oven and as shelves in the refrigerator and under the sink.


At the bottom of the stove, there is even a pull out drawer!

Paint was applied, hardware added, and everything was glued and nailed in place. About an hour before we were supposed to leave to make the haul to South Carolina, I decided that the sink just needed something extra. We added shelves to the right hand side. Definitely a great addition!

Here are some final pictures before we packed everything up for the drive.


We made it to South Carolina without a scratch to the kitchen! Addy was so excited when she saw it.


She took our orders and fed us well!
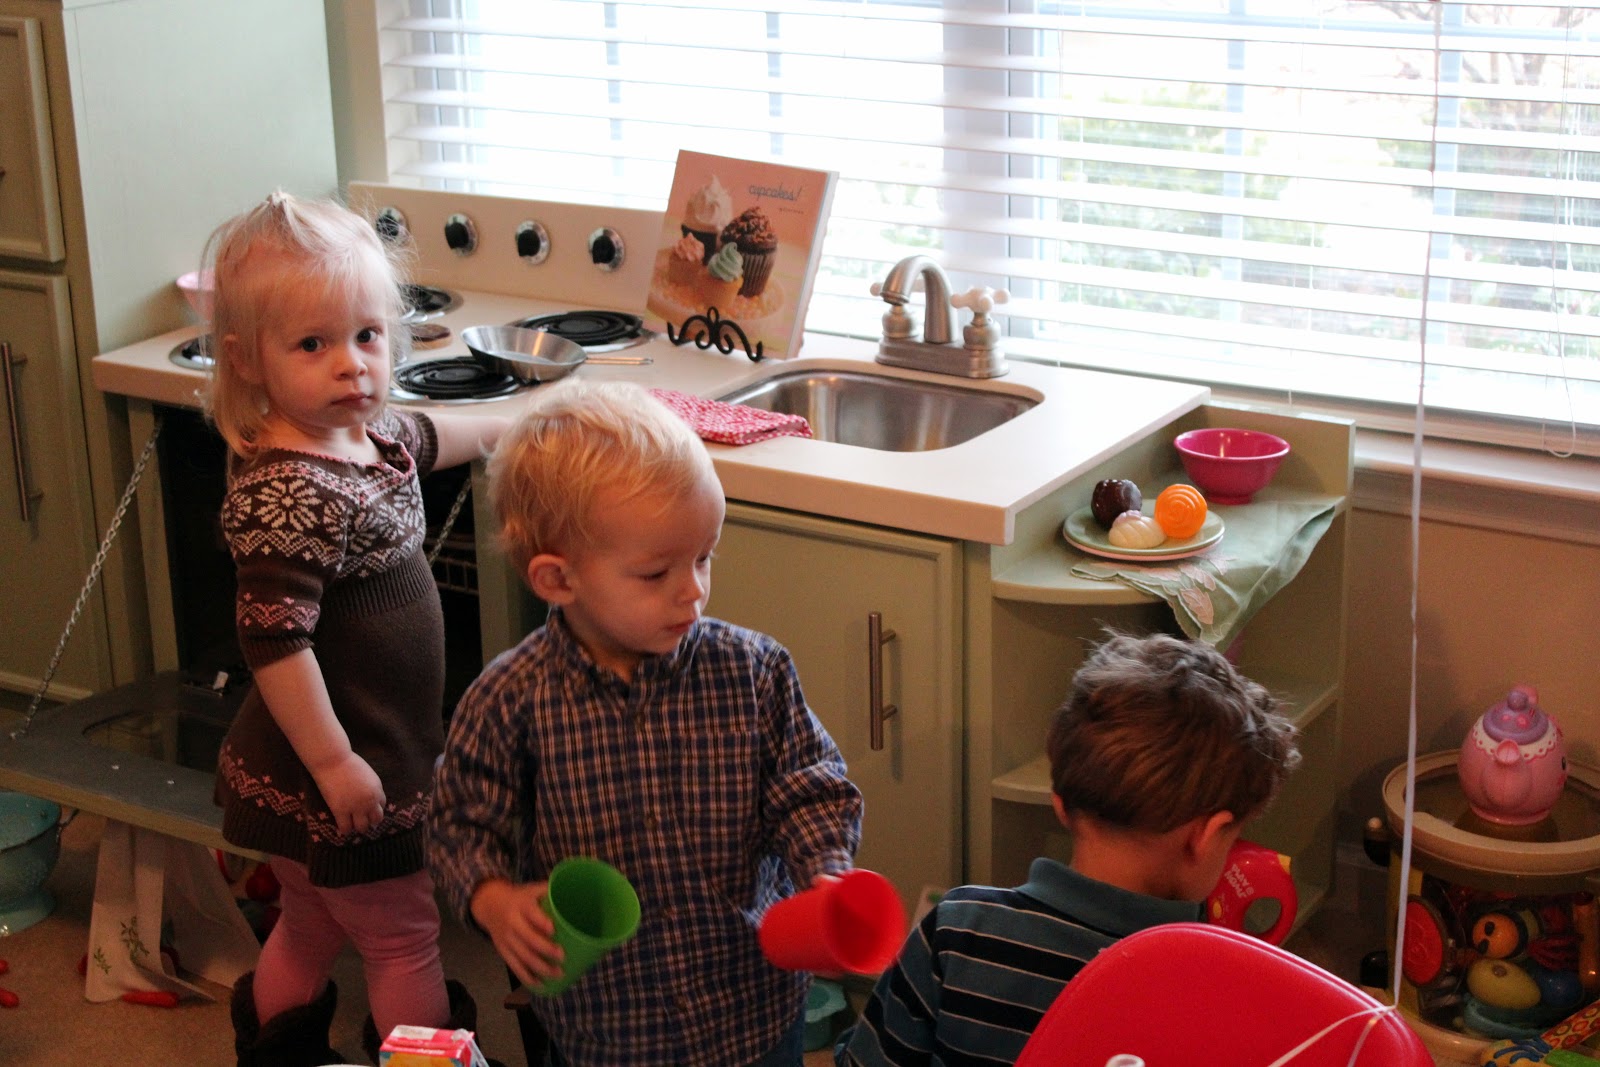
Earlier this month, we celebrated Addy's 2nd birthday - Sesame Street style. An unexpected perk of her birthday party was getting to see a bunch of little ones playing with her kitchen.


I'm just so glad that my sister thought it time to build a kitchen!

xoxo,
Callie
Callie
Love it and love you! (and Z too!)
ReplyDeletecallie and zach - this is AMAZING! we are in awe!!!
ReplyDelete